The Outlook product team tries to make adding account as fool-proof as possible. While this is good for most users, if you need to customize your account set up, choosing “Let me set up my account manually” should let you review the server settings.
The problem came up several times this week with users who wanted to add their account as POP and use an existing PST file.
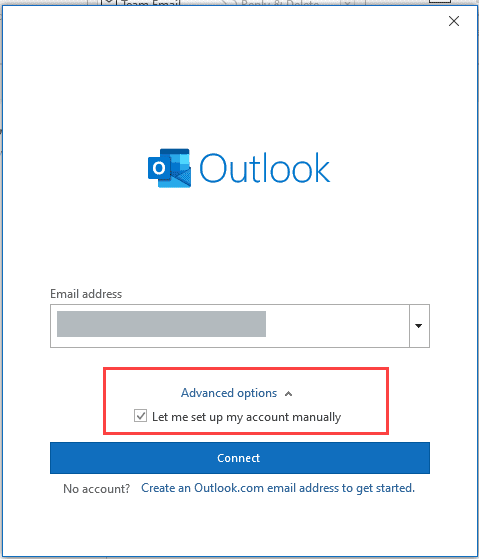
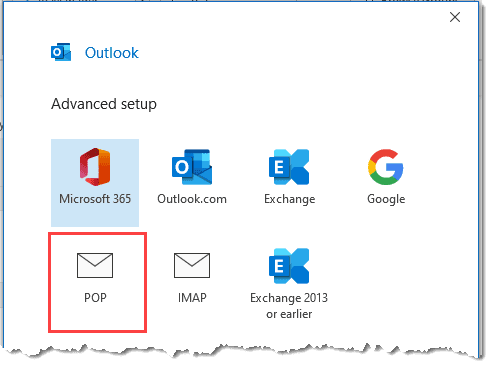
Problem: User is adding a POP account to Outlook 365 and wants to use an existing PST file. He enters the address, clicks Advanced Options and ticks Let me set up my account manually, then clicks Connect. On the next screen, the user selects POP and Outlook immediately asks for the password. The user does not have the option to choose an existing PST file.
If this happens to you, you have two good options:
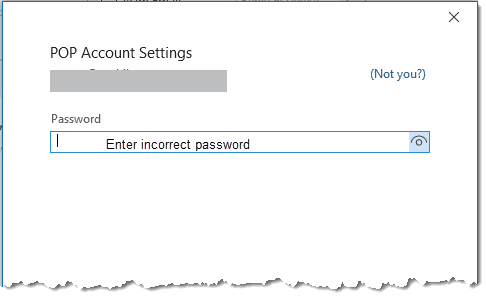
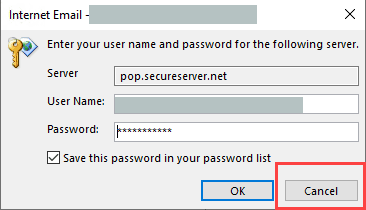
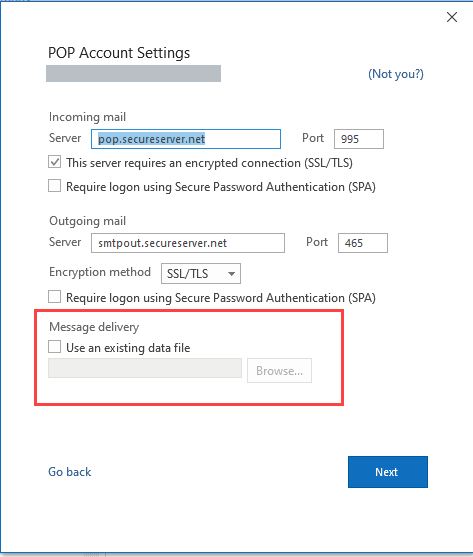
- Enter an incorrect password then cancel the Internet Email password dialog and click Change Account Settings. This brings up the dialog with the server names, port numbers, and the option to use an existing PST file.
- Enter the correct password and change the data file in the Account Settings dialog.
There is a third option but it's not my favorite because it’s completely manual setup (you need to type in the server names and settings): Add the account using the Mail Setup applet. Within Outlook: File > Account Settings > Manage Profiles or open Control Panel and search for Mail (Microsoft Outlook). This uses the old Account Settings dialog many Outlook users are familiar with.
Enter Incorrect Password Method
Use this method to add the existing PST file to your profile as you set up the account. The advantage of this method is that you won't have an empty PST file to delete from your hard drive.
You can also use this method if you are using a POP or IMAP account and want to verify the server settings Outlook wants to use or to customize the server settings.
- Enter your address in the email address field and click on Advanced Options. Add a check to Let me set my account up manually before clicking Connect.

- Select POP on the next screen.
- Enter an incorrect password. Abc123 will work.
- When Outlook asks for the correct password, click Cancel
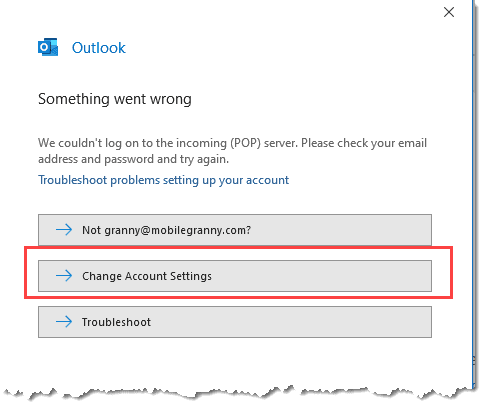
- Outlook will bring up the something went wrong dialog. Click on Change Account Settings.
- This brings you to the screen where you can choose an existing PST file.
Change the PST file after adding the account
If you need to change the PST file the POP account uses after adding the account to Outlook, use this method. If the POP account's PST file is your default data file, you will need to restart Outlook twice before you can remove the wrong PST from your profile.
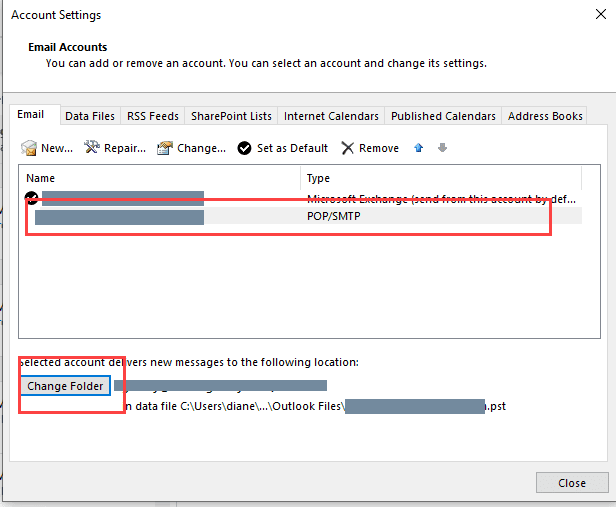
- Open your profile at File > Account Settings > Account Settings
- Select the POP account and click Change Folder at the bottom of the dialog.
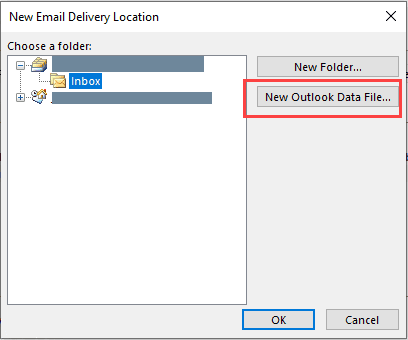
- If the old PST is in the profile, select the Inbox in it, otherwise click New Outlook Data File and browse for the data file you want to use. After you add it to the profile, select its Inbox and click OK.
- If the data file Outlook created is not the default data file, you can remove it from the Data Files tab.
- If the PST Outlook created for your account is the default data file, set your old data file as default. After you restart Outlook a couple of times, you will be able to remove the newer PST. Right click on the data file name in the folder list and choose Close [data file name].
Add the Account using Mail Setup dialog
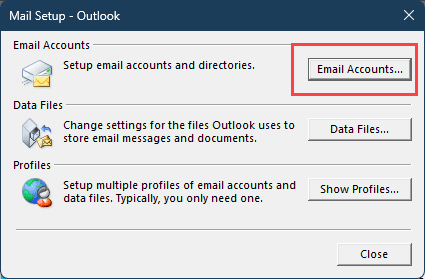
To add the account using the Mail Setup applet, open it from within Outlook at File > Account Settings > Manage Profiles or open Control Panel and search for Mail (Microsoft Outlook)
- Click Email Accounts
- Select Manual Setup or additional server types and click Next
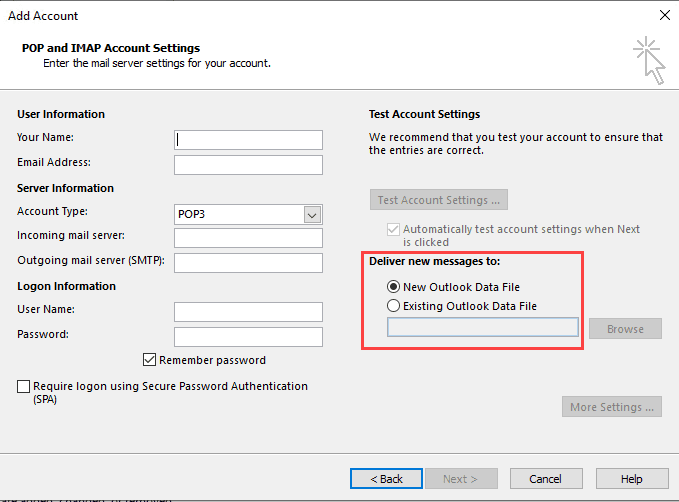
- Select POP or IMAP and click Next
- Enter all your server information then select Existing Outlook Data File and Browse for your PST.
- Click More Settings and adjust the server ports and Outgoing authentication.
thank you thank you thank you.
After three hours with Microsoft and no joy i now have all mt email accounts back
Thank you very much for your instructions on how to add a POP account to Microsoft's mail programs, in my case Outlook -- not 365, adding it to a new Windows 11 PC from a Windows 10 machine.. The instructions were clear and concise.
I'll add that for Windows 11, the file location for the .pst file is OS(C) > Users > {name] > AppData > Local > Microsoft > Outlook. The naming convention for the file has changed from Windows 10's "Outlook.pst" to Windows 11's: [fullemail@address].pst (including any "dots" in the address; no brackets).
Silly question but this causing an issue for us.. Is there any documentation about when\why Microsoft put this in place (trying make the IMAP setup foolproof)?
It's been there awhile- maybe 4 years. It was to make it foolproof. They got a lot of support calls on adding accounts - it reduced support calls by quite a bit.
You can set a registry key to disable it.
https://www.slipstick.com/outlook/disable-outlooks-account-wizard/
How about Automation?
There are 3rd party applications that can automate creating profiles.